

Blog
Smooth Curb Driveway Ramp Installation: Preparation and Assembly

Smooth Curb driveway ramp installation involves positioning and connecting preformed rubber sections. Prepare by confirming the curb profile, planning coverage and checking the supplied parts. Keep the official illustrated installation instructions open for the assembly procedure.
This guide explains what to have ready and what to check before and after assembly. The standard kit is a 12-foot, three-section system for a rolled driveway curb; installing it successfully starts with choosing a suitable entrance.
Table of Contents
Prepare the entrance before assembly
Before opening the kit at the curb, review your measurements and photos. The curb-measuring worksheet helps you record the profile and the area where your vehicle makes contact. A 3-inch ramp height is a product dimension, not a guarantee that every 3-inch curb or low-clearance vehicle will work with it.
Check the planned position against the tire paths used when entering and leaving. Look for uneven ground, obstacles, a pronounced curve or a vertical curb. If those conditions were not part of your original fit assessment, contact Smooth Curb before proceeding.
Clear loose leaves, sediment and other debris from the placement area and gutter. Check that you can see the surface the sections will rest on and the route water takes through the gutter. If the entrance needs construction work to change its profile, resolve that separately before attempting this assembly.
Confirm where the ramp can be placed

Identify whether the proposed position is within your property or an area managed by an HOA or local authority. If permission is needed or ownership is unclear, confirm the placement with the responsible party before installation. Bring a photo, the planned position and the product dimensions so the discussion concerns your actual entrance.
Do not assume that a removable ramp or a drainage channel automatically settles placement questions. Keep access, gutter maintenance and any planned street work in view when choosing the location. Product assembly instructions do not grant permission for a particular site.
Check the kit and plan the work

The standard Smooth Curb kit contains two end sections, one center section, connecting bolts and nuts, and installation instructions. Together, the sections span 12 feet along the curb, measure 17 inches front to back and 3 inches high, and weigh 128 pounds. The material is 100% recycled rubber.
- Identify the end and center sections and compare the supplied parts with the instructions.
- Check the sections and hardware for visible damage or missing items before assembly; contact Smooth Curb about anything that needs resolving.
- Plan handling with help. The manufacturer’s usual time estimate is for two people, and the full system weighs 128 pounds.
- Keep the supplied hardware and instructions together. Follow the stated connection guidance instead of guessing a tool size or tightening setting.
Decide on coverage before connecting sections
Each additional center extension is sold separately and adds 4 feet along the curb. Use the coverage calculator to plan the span before assembly. An extension changes coverage; it does not correct an unsuitable curb profile or establish vehicle clearance.
Understand the official assembly sequence
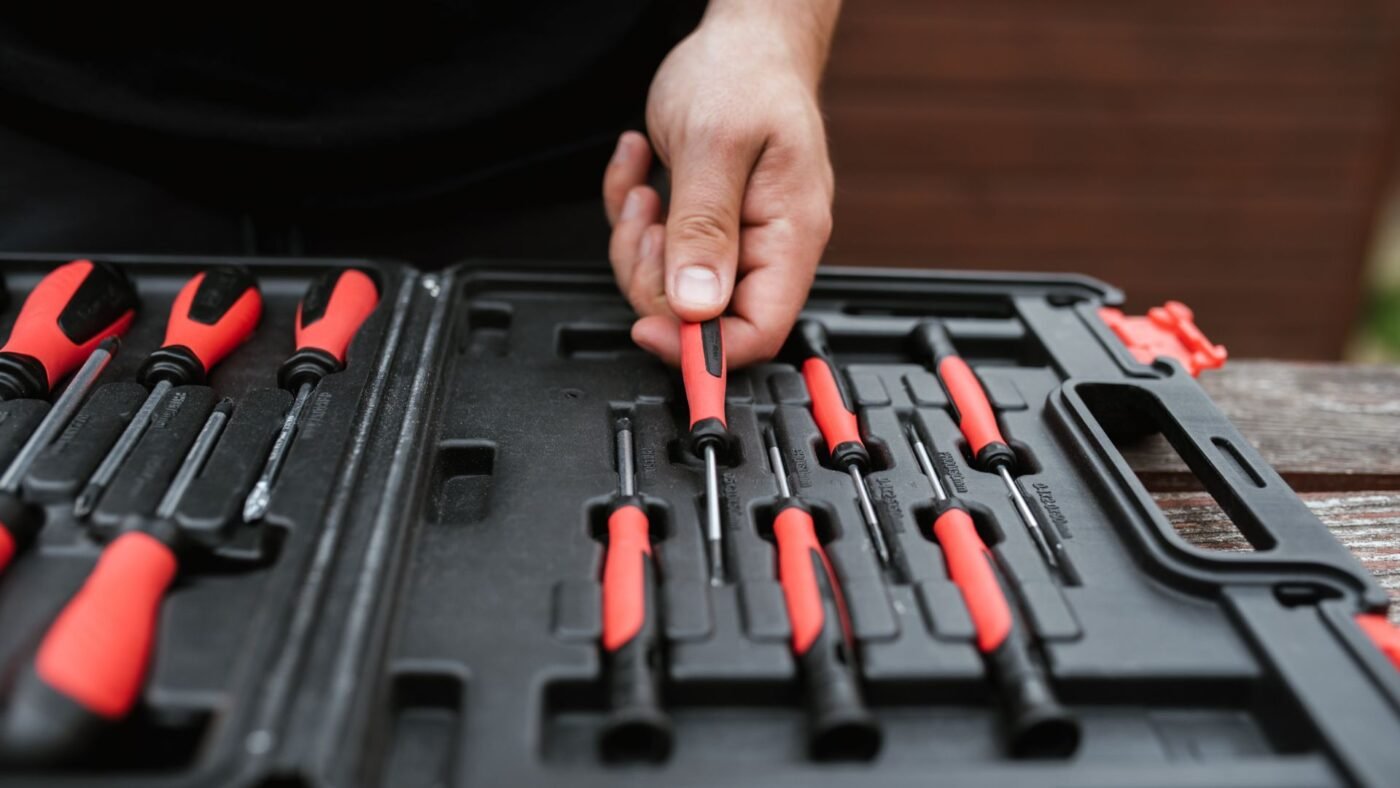
The following overview follows the official five-step installation page. Use that page’s pictures while working so the section orientation and connecting holes are clear.
- Lay out the sections. Place them on the gutter, centered to the driveway’s width.
- Prepare them for connection. Turn each section upside down onto the street, aligned parallel to the gutter.
- Connect the sections. Insert and secure the supplied bolts and nuts using the outside holes shown in the instructions.
- Check the connections. The installation page says all bolts should be tightened slightly more than hand-tightened. It does not give a numeric torque setting.
- Complete initial placement. Carefully flip the assembled ramp back into position and align it with the curb as shown on the installation page.
For this initial assembly, follow the sequence as illustrated. If an installed ramp later needs to move, the current instructions add a separate requirement: disconnect the bolts before moving the sections to avoid damaging the product. Do not move the installed system by pulling one connected section sideways.
Check placement after assembly
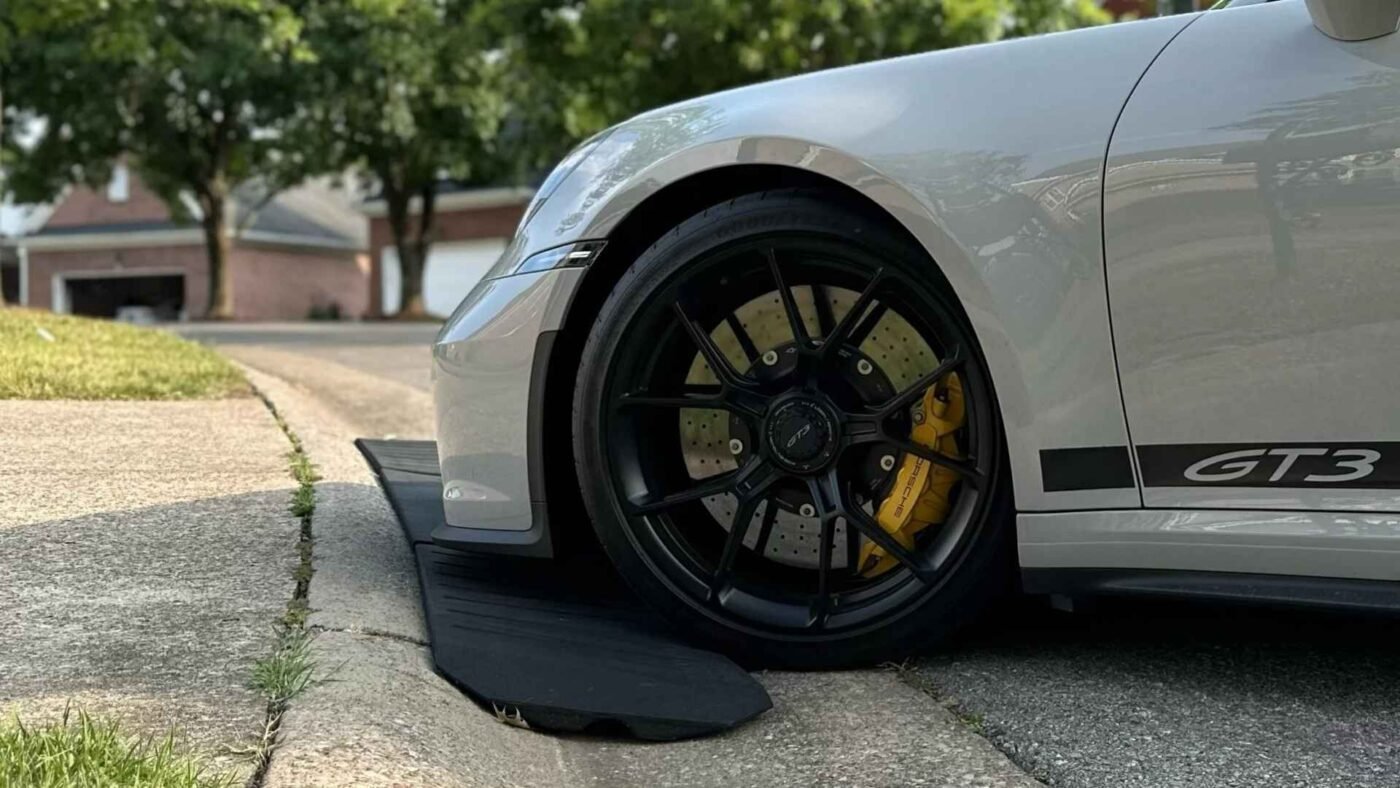
Before using the entrance, review the result against the instructions. Check that the sections are connected as shown, the ramp is positioned at the intended part of the rolled curb, the planned tire paths are covered, and the gutter and drainage channel are clear of debris. A finished assembly does not by itself verify clearance.
If the sections do not sit as expected or there is a clearance concern, stop and ask Smooth Curb to review photos and measurements. The FAQ allows adjustment for some curvature but directs pronounced curves, vertical curbs, uneven ground and very low vehicles to a fit assessment before ordering.
Keep the instructions handy for adjustments
Keep the installation page available for any later adjustment. Disconnect before relocating the sections, clear the placement area, then reconnect and position them using the same assembly guidance. For routine upkeep, use the inspection and maintenance guide.
Driveway ramp installation questions
How long should I allow?
The manufacturer’s FAQ says two people can usually install Smooth Curb in less than 15 minutes. Treat that as an assembly estimate, and allow additional time for checking fit, clearing the area and resolving missing or damaged parts.
Do I need concrete, wood or adhesives?
The Smooth Curb procedure connects preformed rubber sections with the supplied bolts and nuts. Concrete mixing, wood construction and adhesive bonding are not steps in the published assembly instructions.
Do the connector bolts attach the ramp to the curb?
The supplied bolts connect the ramp sections to one another. The published procedure does not instruct you to drill the curb.
What if I need to reposition it afterward?
Disconnect the bolts before moving the sections. Reconnect and position them using the installation instructions. If the system repeatedly needs repositioning, review the placement and contact Smooth Curb for guidance.