


Step By Step Installation
Before assembly, use our driveway ramp installation planning checklist to check fit, tire-path coverage, placement and handling.

Step 1: Placement of Ramp Sections
Place all Smooth Curb™ Driveway Ramp sections on the gutter, centering them to your driveway’s width.


Step 2: Prepare for Assembly
Turn each section upside down onto the street, aligning them parallel to the gutter.


Step 3: Connecting the Sections
Begin connecting the sections by inserting and securing the bolts and nuts provided. Use the outside holes provided.


Step 4: Securing the Connections
Ensure all bolts are tightened. Slightly more than hand-tightened is all that is needed.


Step 5: Final Placement
Carefully flip the ramp back into position and align it with your curb’s height.

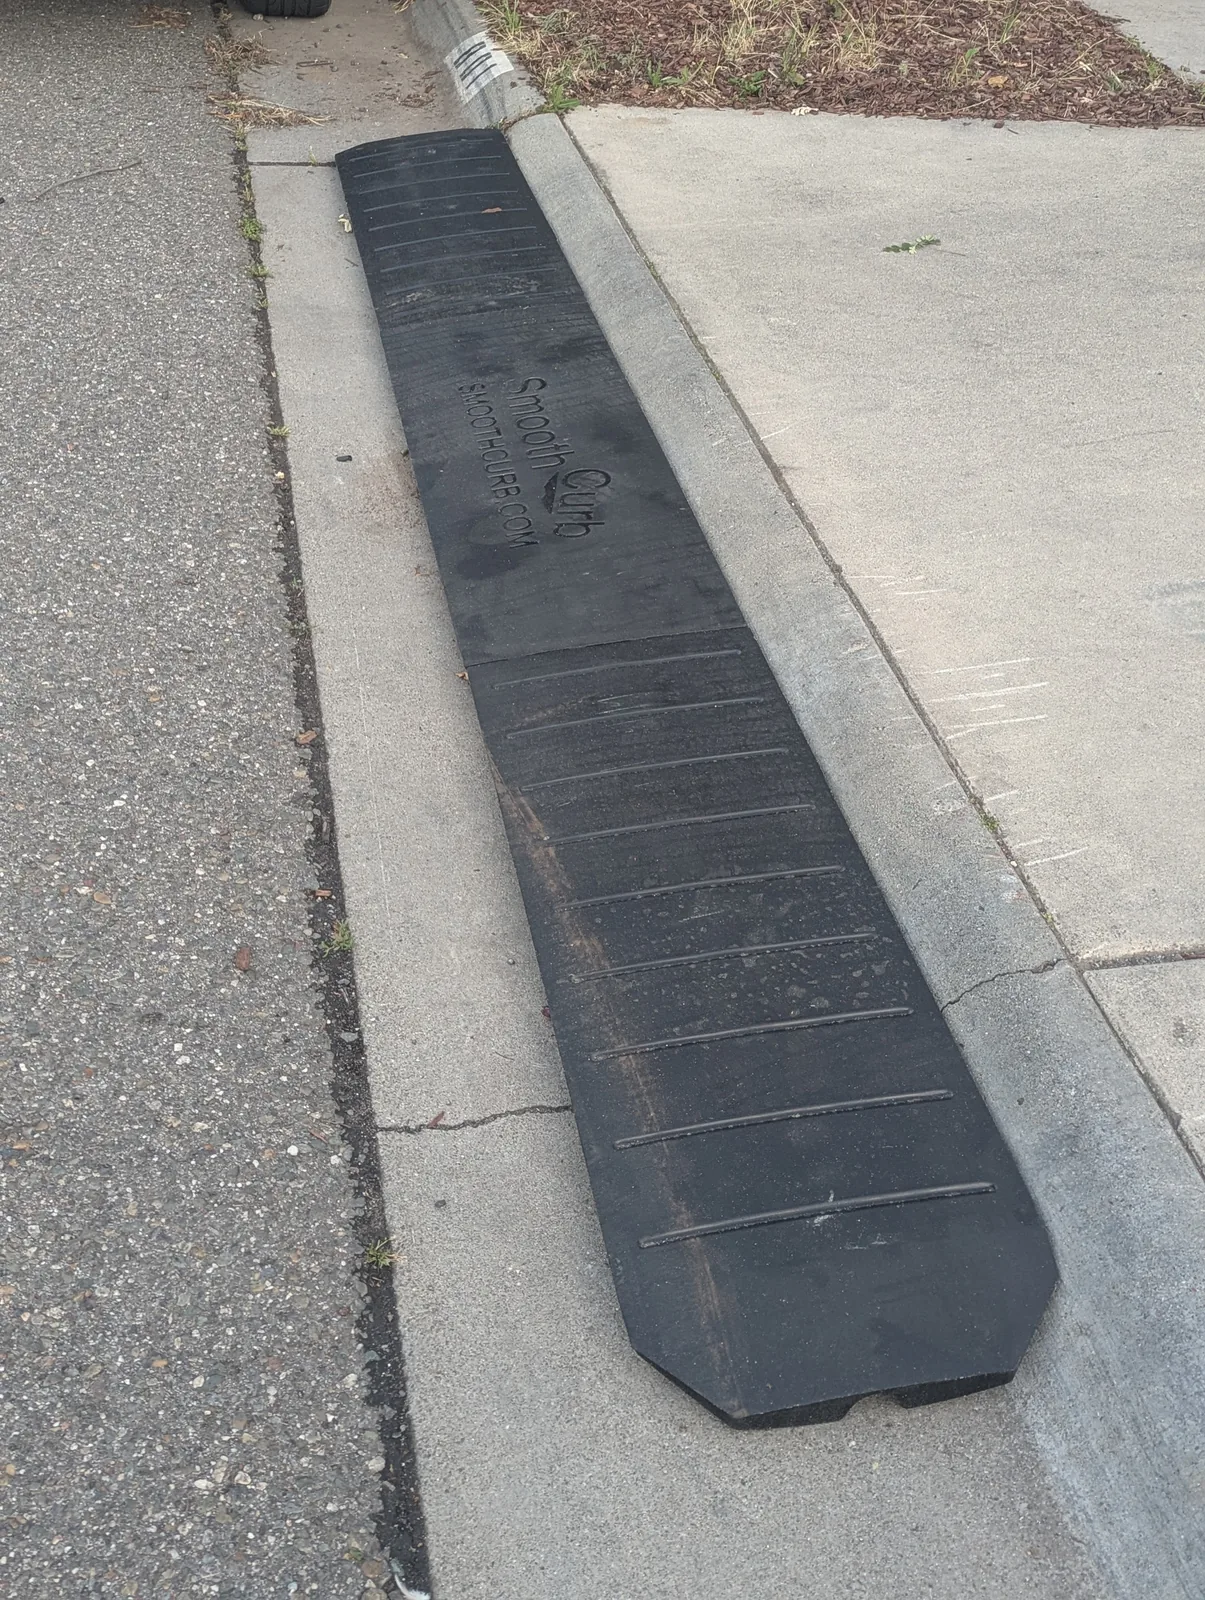
A closer look at an installed ramp
This customer photo shows the connected ramp sections positioned beside a driveway curb. Use it as a visual reference alongside the assembly steps above.
Check your own curb profile and tire paths before positioning the system. Keep the gutter and the drainage channel beneath the ramp clear.
Post Installation Adjustments
The Smooth Curb™ Driveway Ramp is designed to stay in place with minimal adjustments. If repositioning is needed, disconnect the bolts before moving the sections to avoid damaging the product. Reconnect and position the sections using the assembly steps above.
Additional Center Section
Purchase an additional Smooth Curb™ center section to extend the width of your Smooth Curb™ system.
